
Source from: http://www.ishouldbemoppingthefloor.com/2015/02/diy-herringbone-canvas-art.html
This herringbone canvas art photo was the main goal of my DIY project.
The supplies needed:
- A large canvas (I bought a 2-pack for $12 from Michaels).
- Multiple paint colours ($3.99 each from Michaels).
- Painters tape (already had some from previous paint job in the living room, ~$5)
- Paint brush ($1.00 from Michaels)
The first step is to measure the lines and to prepare the canvas for the painters tape. My mistake here was changing the design half-way through. I had originally thought I was going to have my painting like this:
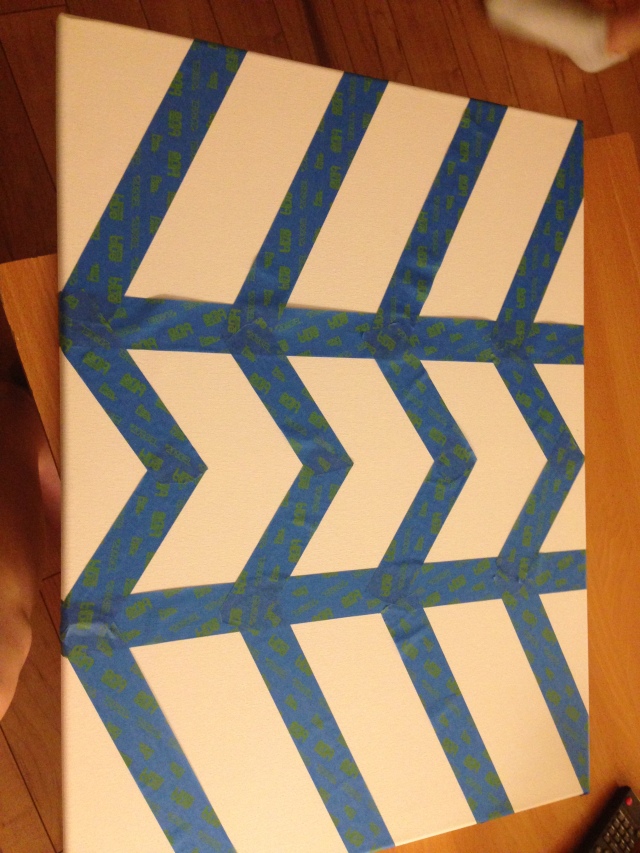
But then proceeded to change my mind, and not correctly fix the measurement to this:
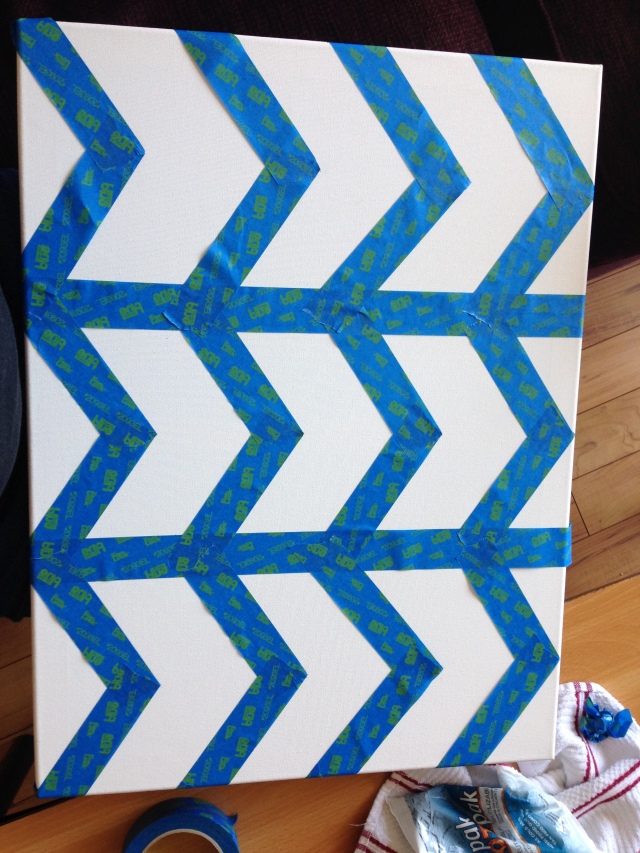
My one regret is using the “knock-off” painters tape of Frog tape. I don’t know if it had to do with the material on the canvas or the tape in general but I struggled with getting the tape to stick 100%.
The next step was to paint! The one mistake I made was too much silver..
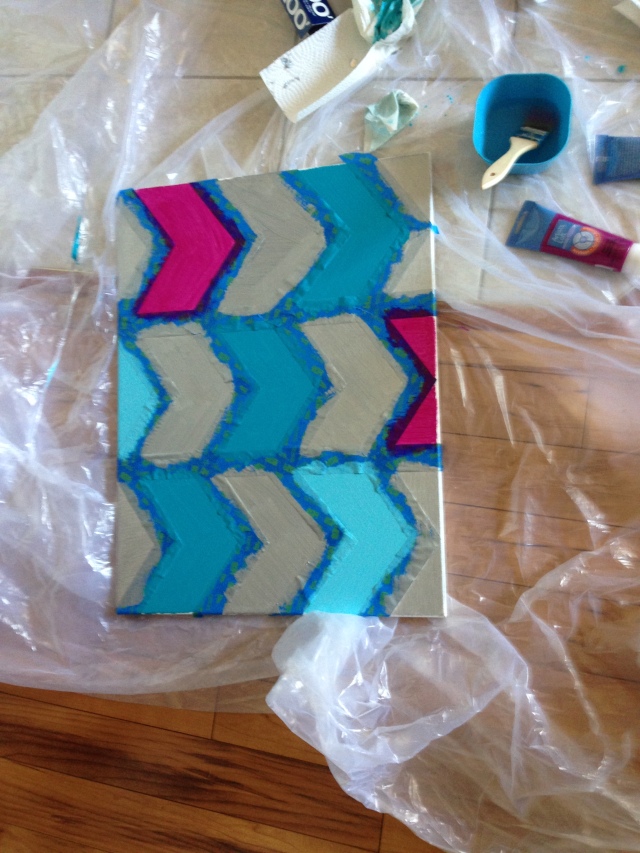
I should have put one more of each other colour, but oh well. I still think the overall project turned out pretty well. The last step is to allow the paint to fully dry before peeling of the painters tape. Then voila!
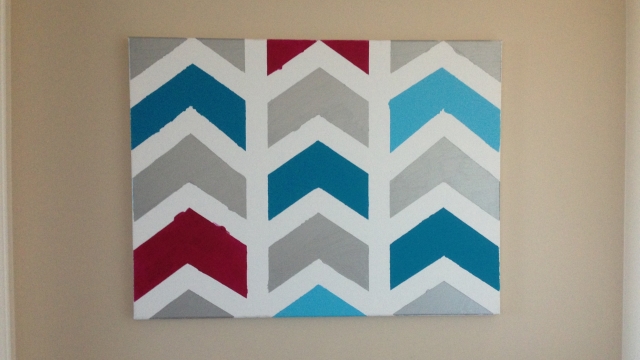
As you can see some of the darker colours are more noticeable to see that the paint seeped underneath the tape. But, I think it adds a little bit of character. I plan to one day, eventually sand down the paint and make the paint seem a little older.
I have more DIY projects that I am working on, be sure to stay tuned. I will try not to leave for two months without posting something!
See you soon,
CByrn5e
